Tried my hand at doing sculpting with Blender. I figured I’d try making a skull for some more creepy areas in the game.
Up until now, I’d been manipulating vertices, edges, and faces manually in Blender to create my models. Doing it this way meant the models I created did not contain many polygons, thus the name ‘low poly’ models.
Sculpting on the other hand is essentially giving broad instructions to areas of the model. So you can select an area and push it inwards and it will make a small dent on the model. Essentially like real sculpting, hence the name. This requires models that contain a bunch of vertices to manipulate.
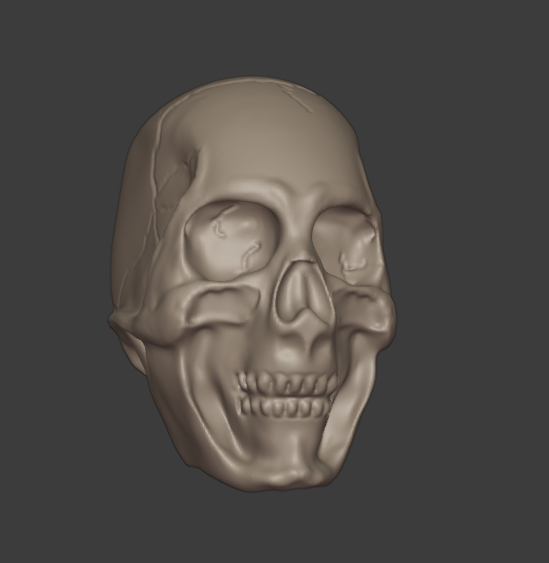
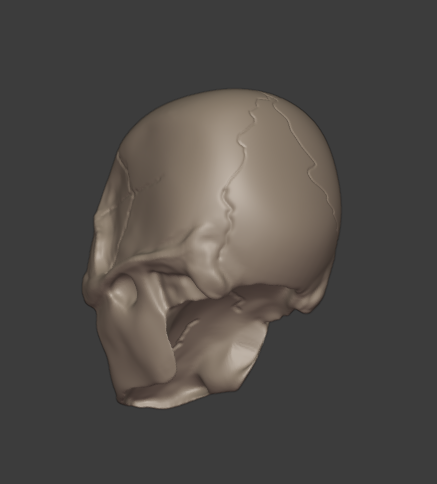
I created the skull below using a reference image, a sphere packed with a lot of vertices and a bunch of mistakes.
Now I want to use this in my games, but it doesn’t really fit too well with all of my other low poly models. So I used a decimate modifier on the model to bring down the poly count in an attempt to bring it into the style of my existing models.
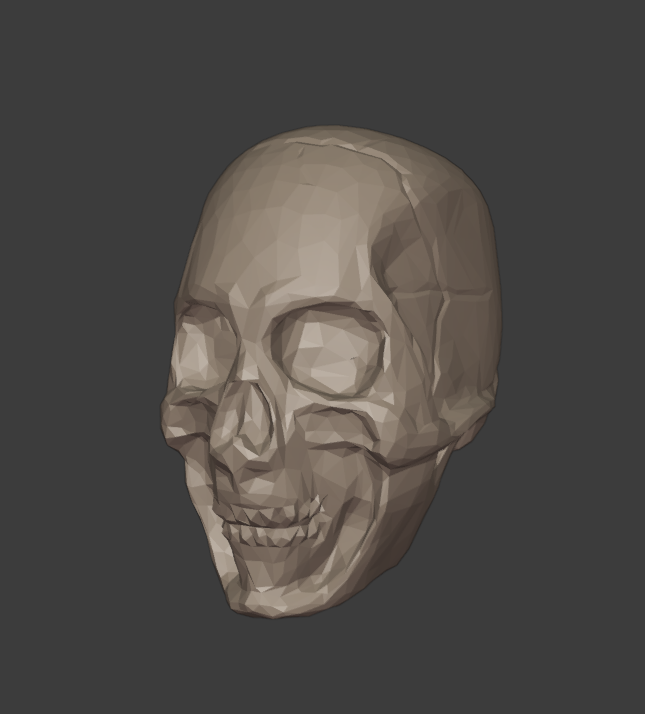
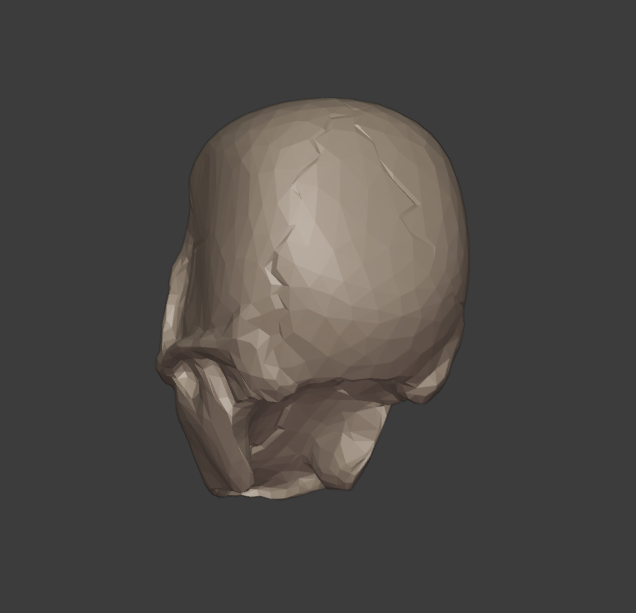
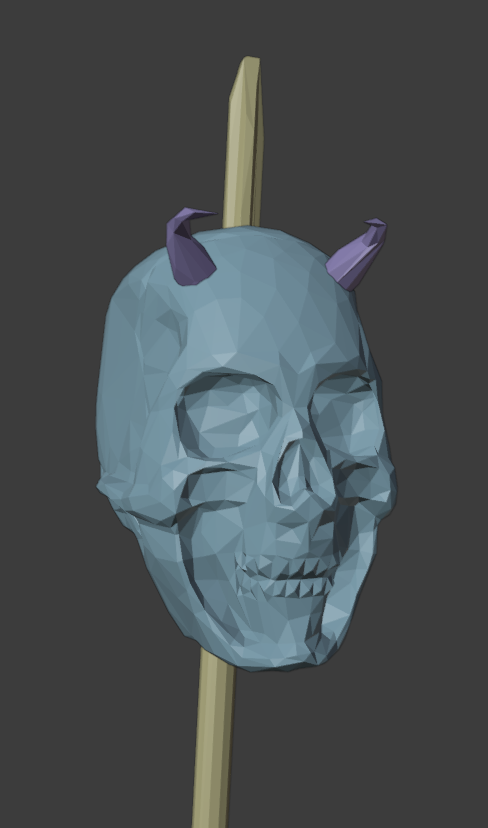
You can easily make out the individual faces of the skull now, giving it a more low poly look. It still has a lot more polygons than any of my other models, but it does fit a little better compared to before if I do say so myself.
After I tweaked it a bit with the decimate modifier, I decided to add little horns and put the skull on a spike.
Sculpting seems pretty useful, but I think I’d need to take advantage of a tablet and pen to do it properly since all the tools are pressure sensitive. I did the above with mouse and keyboard but it takes a lot of adjusting of the pressure setting on the tools instead of just adjusting the pressure of the pen physically.
Maybe I’ll give it a shot with my tablet and see how it goes and post about it in the future.